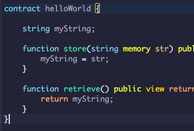
Building on from the previous article on creating a helloWorld smart contract, here we will show how to deploy a contract to an Ethereum testnet.
The testnet we will use is called Ropsten but there are others can you can choose such as Koven, Rinkeby or Goerli.
Step 1: Install Metamask
Metamask is a browser plugin that can serve as a crypto wallet and also as a connection to various blockchains to communicate and sign transactions.
Install this by visiting: https://metamask.io/download.html
Step 2: Change the Metamask network
Change the network to the Ropsten testnet.
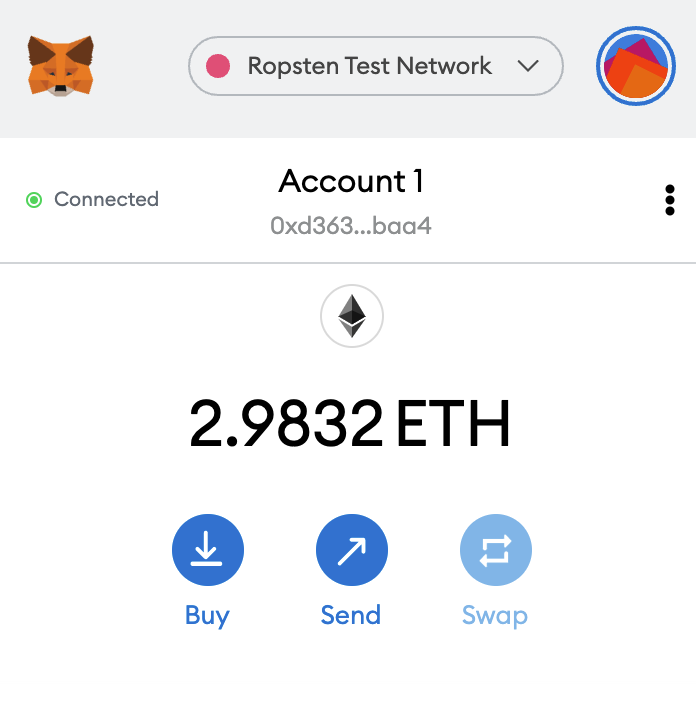
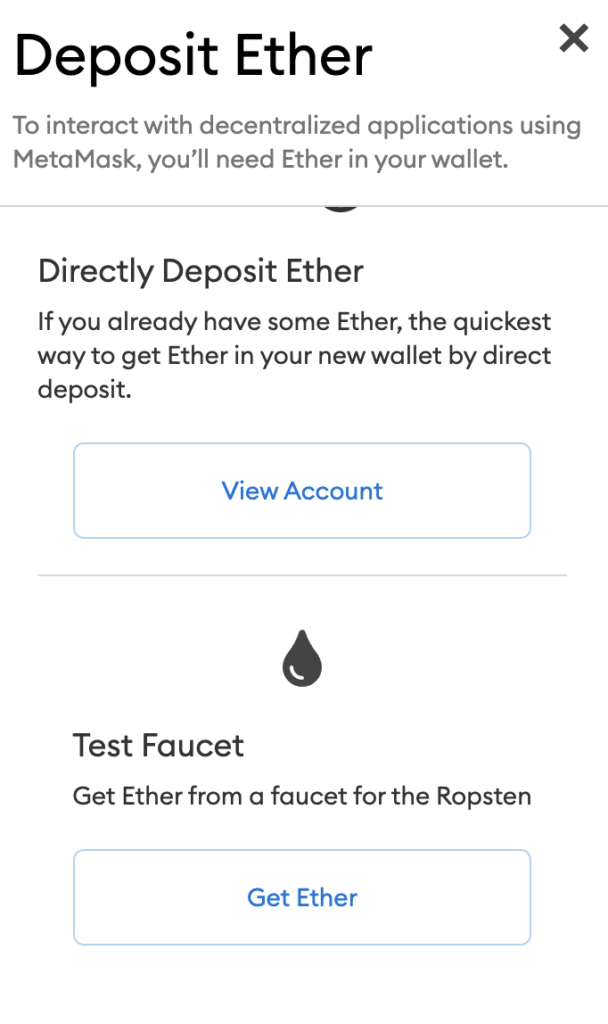
Step 3: Get some test ether
To get some test ether, click buy, and then click Get Ether in the Test Faucet section below.
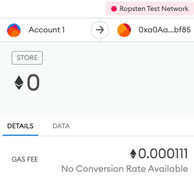
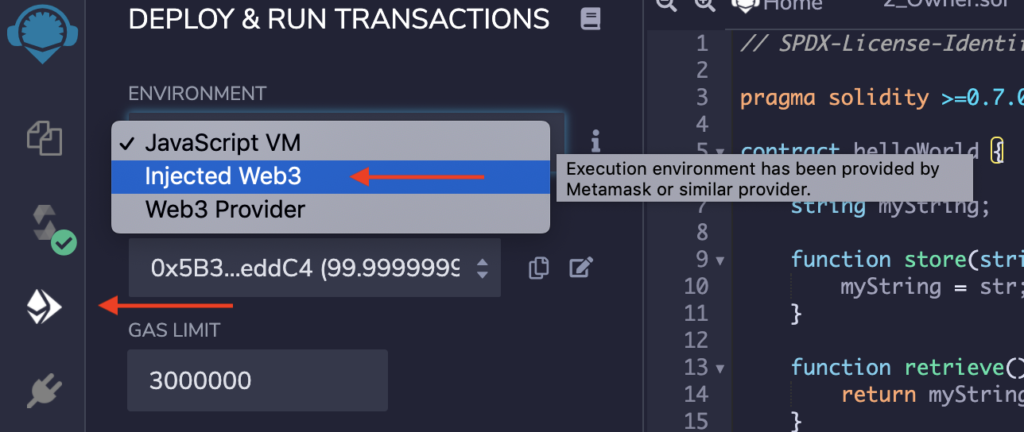
Step 4: Deploy your smart contract
Change your environment from Javascript VM to Injected Web3.
Now when you click deploy, Metamask will pop up and ask you to confirm the transaction.

Click confirm.
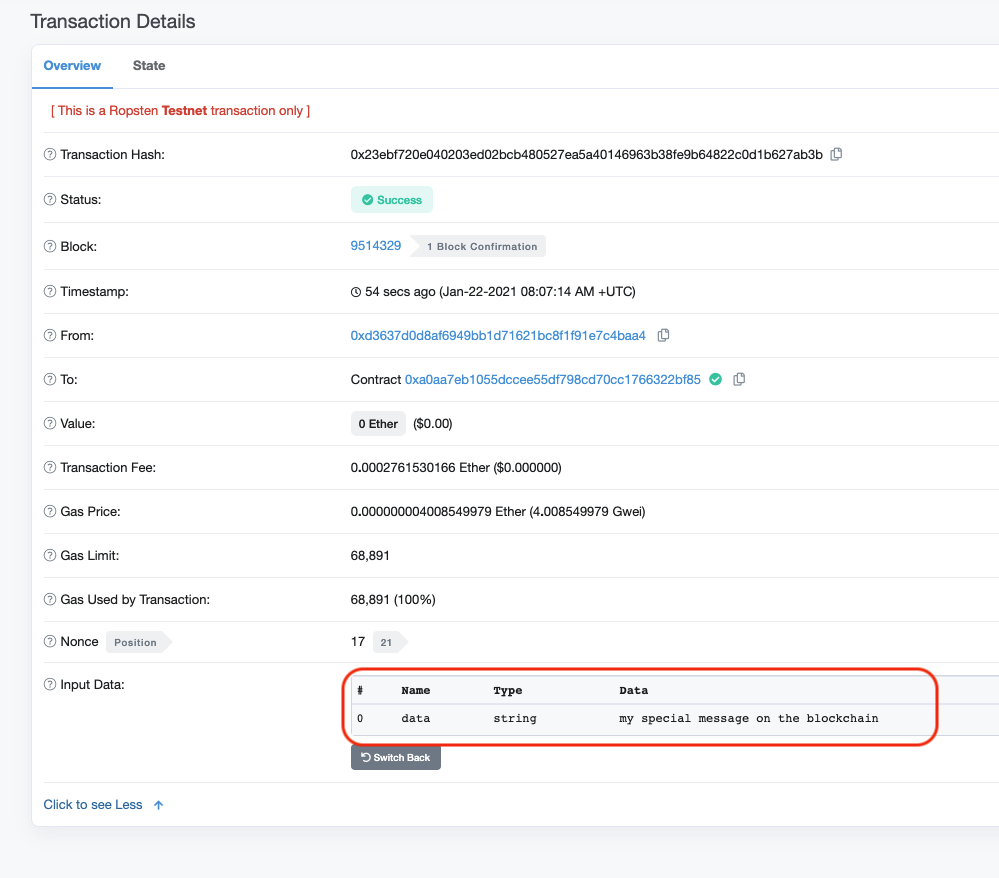
Step 5: Interacting with your smart contract
Now you can interact with your smart contract the same way but each time you try and store a message, you will have to pay a small fee (gas) and sign the transaction using Metamask.
Here is a link to the smart contract: https://ropsten.etherscan.io/address/0xa0aa7eb1055dccee55df798cd70cc1766322bf85
and here is a link to the transaction where you can see the string that was stored.